
Holiday project: CV revamp!
Published:
I had a bunch of random to-do’s while I’ve been at my parents’ over the winter holidays and in possession of a high density of “free” time, one of which was to revamp my CV. Well, as sometimes happens with such things, I ended up going way down the rabbit hole, having a lot of fun, and learning a lot! The result was a new LaTeX .cls file and a bunch of supporting Python code for pulling from the same datafiles that maintain this very site so that I can have a nice pretty PDF that’s relatively easy to keep in-sync with the information here.
So without further ado, let’s show it off! But before I go too deep, for a tl;dr, check out the Github repo here which has most of the basic info you’d need if you just really like it, want it for yourself, and don’t care too much about the nuts and bolts.
My goals
People have different goals, preferences, and requirements when they make a CV. Here were my main ones:
- Simple but elegant format that is pleasantly readable but capable of dense enough presentation to fit all my moderately-to-very important information within five pages
- Ability to maintain ONE set of files with all my information that can be used to generate this site as well as the CV (including the publication section!)
- Easy, consistent way to fudge vertical spacings to stop sections from running slightly across page breaks (in my old CV, I was constantly adding/changing
\vspacecommands all over the place to achieve this every time I had to add a new piece of information to the document and I was DONE with that)
The starting point
This is obviously not a new sort of task by any stretch, so I first did a bit of Googling as well as searching around on Github to see how other folks had handled it. I didn’t find any template that was off-the-shelf close enough to what I wanted, which actually surprised me a little bit. So I decided I would smoosh together two things and add some of my own special sauce:
- Jerry’s CV formatting (I don’t think his actual CV is posted online anywhere…)
- This template that I found on Overleaf but was originally by Trey Hunner and posted on LaTeX Templates
How does it work?
Probably half the work was just getting the aesthetics right, and it was pretty fun to actually learn how a LaTeX .cls file works as I’d never messed around much with defining my own environments and commands before, only super simple macros.
So what are the key components/structure of the template?
The top section
It looks like this: 
All this stuff is easily changed with the top block of the CV.tex file:
% to populate the top areas
\name{Rachel C. Kurchin}
\uni{Carnegie Mellon University}
\dept{Mechanical Engineering \& Materials Science and Engineering}
\addressone{3404 Wean Hall, Hamerschlag Drive}
\addresstwo{Pittsburgh, PA 15213}
\email{rkurchin@cmu.edu}
\website{rkurchin.github.io}
\scholar{https://scholar.google.com/citations?user=CSHe53oAAAAJ\&hl=en\&oi=ao}
These nice readable commands are implemented in the cv.cls file like so:
% some things for the main document to be more readable
\def \name#1{\def\@name{#1}}
\def \addressone#1{\def\@addressone{#1}}
\def \addresstwo#1{\def\@addresstwo{#1}}
\def \uni#1{\def\@uni{#1}}
\def \dept#1{\def\@dept{#1}}
\def \email#1{\def\@email{#1}}
\def \website#1{\def\@website{#1}}
\def \scholar#1{\def\@scholar{#1}} % Google Scholar link
\def \phone#1{\def\@phone{#1}}
Main content sections
Each section is a longtable (just a tabular environment that can cross page breaks if needed):
% Defines the cvSection environment for the large sections within the CV
% 3 arguments: (required) section name, (optionally) spacing fudge factor and first column width
\NewDocumentEnvironment{cvSection}{m O{-3pt} O{3.37cm}}
{
    \def\@fudgespace{#2}
    \sectionskip
    \MakeUppercase{\bf #1} % Section title
    \sectionlineskip
    {\color{CMUlightgrey}\hrule height 1.5pt}

    % use a table to get the column on the left
    \begin{longtable}{@{} p{#3} p{\textwidth-#3-0.4cm}}
}
{
    \end{longtable}
    \vspace{\@sectionfudge}
}
This is where the magic starts to happen. That \NewDocumentEnvironment command uses the xparse package, which allows much more flexible arguments in environment and function declarations, including multiple optional arguments, which is not possible in vanilla TeX. So in the case of the above, we have one required argument (the name of the section, signified by the m ) and two optional ones (signified by O{defaultVal}) for the spacing fudge factor (how far away should each entry be relative to one line width?) and the width of that first column.
You might also notice my custom CMUlightgrey color above, these are easy to define using the xcolor package, and in this case I just looked up the CMYK values for CMU’s brand identity (basically any university will publish these somewhere):
% for the colored lines
\usepackage[dvipsnames]{xcolor}
    \definecolor{CMUred}{cmyk}{0,1,.79,.2}
    \definecolor{CMUdarkgrey}{cmyk}{0,0,0,.7}
    \definecolor{CMUlightgrey}{cmyk}{0,0,0,.3}
Individual entries
Each entry corresponds to a couple of lines in that longtable environment. If you’ve ever messed with tables in TeX, you know they can be a bit clunky to handle (I highly recommend a table generator like this one), but since in this case we’ll have many very similar entries, we can define commands for these items that makes everything much easier to read and write.
So for a “generic” item, we can just write something like:
\cvItem{09/2019 -- present}
    {Carnegie Mellon University}
    {Depts. of Mechanical Engineering, Materials \newline Science and Engineering}
    {MFI Postdoctoral Fellow with Venkat Viswanathan and Jay Whitacre}
(Note that here I also manually added a line break because LaTeX was splitting up the word “Science” in a way I thought was ugly)…which gets turned into code for the table using this:
% 4 arguments: year, institution, department/location, position
\newcommand{\cvItem}[4] {
    #1 & \textbf{#2} \textit{#3}\\
     & #4\\
     &\\[\@fudgespace]
}
(Note how that “fudge space” comes back here)
Here’s an example of a section with less negative fudge space (-5.5pt): 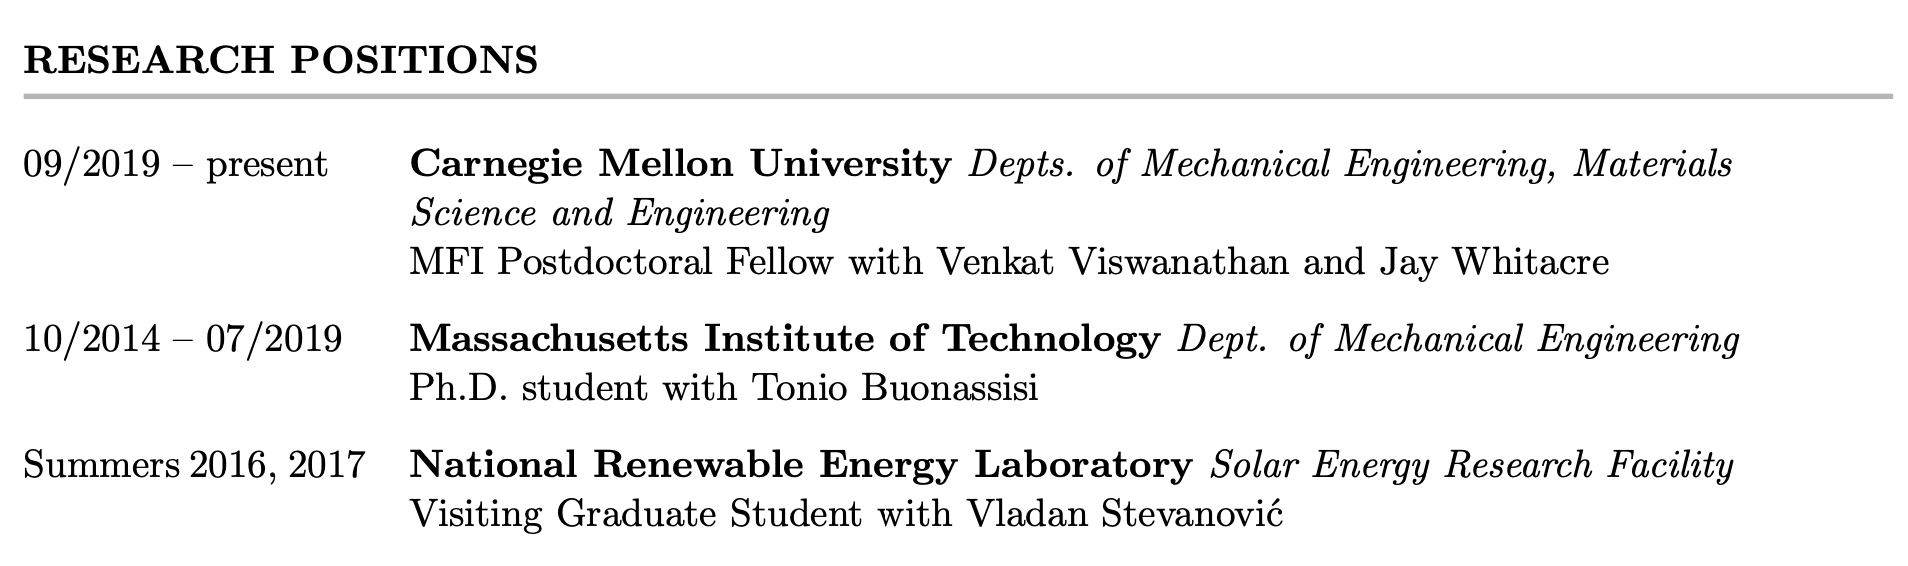
And here’s one with more negative space (-9.5pt) 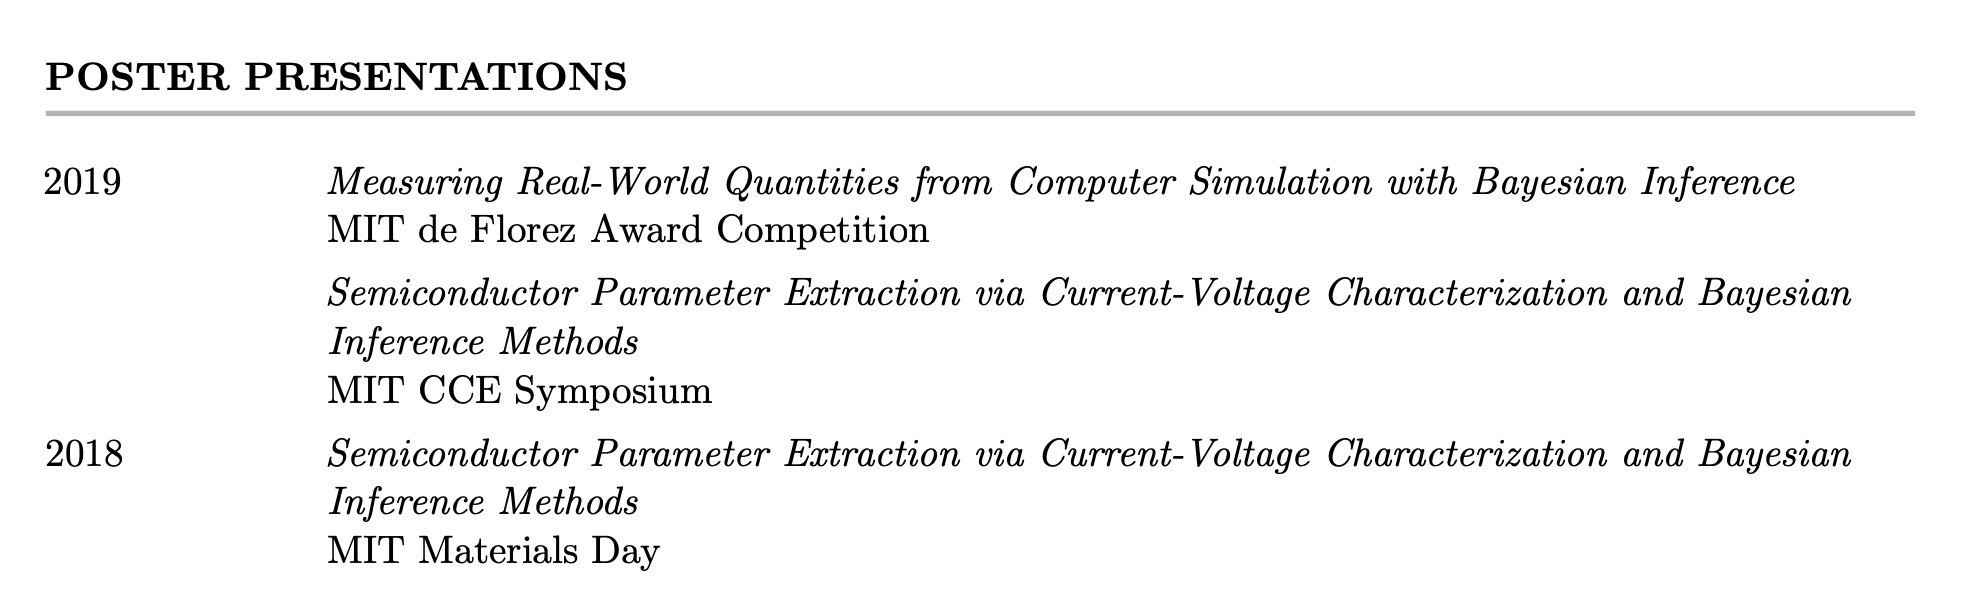
You can see that there’s less space between the entries in this case. But I only have to specify the amount of space once per section — huzzah!
I also have different types of items for publications and lower-detail things that only need to take up a single line.
Automatic content conversion…
I love the template I use for this website — check it out here: academicpages. As part of setting that up, I generated .tsv files for a bunch of different things like awards, service work, etc. Always willing to push the limits of efficient automation, I wanted to make Python code that could pull from those same files to generate those input files so I could avoid having to actually type \cvItem so many times…turns out it wasn’t that difficult! And because each section can be formulaically generated in a relatively similar way, it’s also easy to write a loop over the different sections. As a result, once data and functions have been imported, the loop that generates the input files for the awards, talks, posters, and service sections is only 25 lines of code (excluding comments)!
I actually put a decent amount of comments in all the Python, so I won’t bore you with the gory details here and rather refer you over to those files in the Github repo if you’re interested: cv_fcns.py , which defines the functions to write the different formats of the item listings, and cv.py, which actually reads in the data and generates the content. It also takes care of only adding the year when it changes , as seen in the excerpt of the posters section above or the publications section below.
…even for publications!
The Python code also includes some code (using the package pybtex, and borrowing some code from my friend Giuseppe) that reads in a .bib file with all my publications and generates a TeX file with a bunch of \pubsItem lines and also has my name bolded each time, resulting in a section that looks like this:
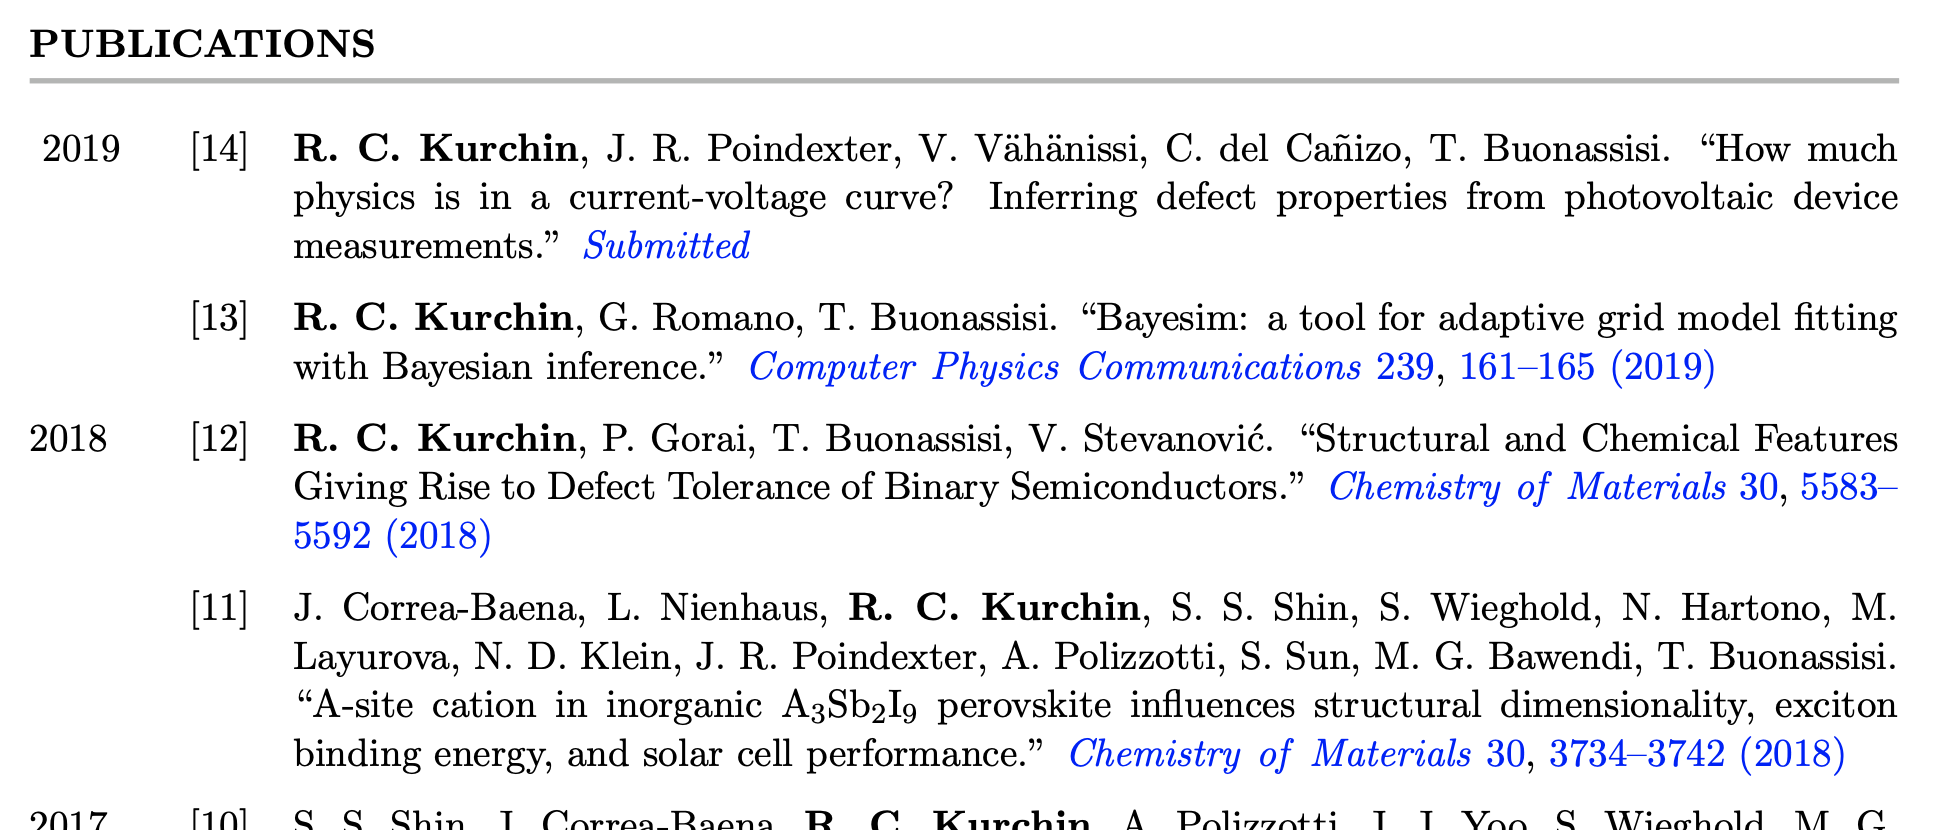
…and yes, those blue things are links to the papers. :D
Wanna try it?
Head on over to the Github repo and have a go! Let me know what you think!
…and now onto the next project: changing old passwords.